Second of all: This is the cake I complained about in my last post. So you know how it turns out. But I'm taking the high road, I'm realizing that lessons come from bad experiences, and I'm embracing my baking blunder.
Here we go.
Play-Doh Cake.
-2 3/4 cups cake flour
-4 teaspoons baking powder
-3/4 teaspoon salt
-4 egg whites
-1 1/2 cups white sugar
-3/4 cup butter
-1 cup milk
-1 teaspoon vanilla extract
-1 teaspoon almond extract

Step 1: Sift, sift, sift.
Literally. Sift. Sift. Sift. Three times. Cake flour. Baking Powder. Salt.


Step 2: Meringue, anyone?
Here's the deal with Meringue. It's fickle. Real fickle. I think that's part of the problem that I had with the cake. So read carefully and take notes. Okay, maybe not notes. As long as you follow my directions, you'll be okay.

First: Separate the eggs. If you have an egg separator, great. If not, you can save yourself the dish and use the shell!

Beat the eggs. And then beat them some more. And then some more. High speed until eggs are foamy.

This occurred after a lot of egg beating. A lot.

Combine half cup of white sugar with the eggs. And then beat some more. A lot more.

Eventually, the eggs and sugar will become this. Slightly unbelievable, but true. Keep mixing until soft peaks form when the mixer is lifted out. Check often because over mixing can cause problems with the cake.
Step 3: Here comes the Cake Batter.
I guess I'm doing the steps for this blog a little differently. Because there are so many components to the cake (or two components), I'm dividing it by the big steps. Under the captions are the step by step directions. For this part, I recommend moving the meringue to a separate bowl and washing the original mixing bowl. In the end, the entire batter will be mixed in the large bowl, so this needs to be done. Back to the batter:

Cream the butter and remaining cup of white sugar until smooth.


Begin adding small amounts of the sifted dry ingredients in rotation with small amounts of the milk. Mix between each addition until smooth.

Add flavorings.
Step 3: And two became one...a love story:
Combine the meringue in with the cake batter. Mix thoroughly, but no more than needed. Anytime that meringue is used, treat it like a person. No one likes to be beat up for no reason. Meringue has feelings too. Be gentle, or it will bite back and ruin your dessert. Trust me.

How can two parts of such fluffiness not make a fluffy cake? Well, I'm about to tell you.
Step 4: Bake away.
Here's where the pictures and the right directions get in a bit of a tiff. I got a big head and started thinking that I could do anything good in the kitchen and that I was better than the rules. Nope. Turns out I was wrong. So the correct directions are:
-Pour batter into a 15 x 10 x 1 pan lined with parchment paper and bake at 350 degrees for 30-35 minutes. This can also transfer to two 9" round pans baked at 30-35 minutes or two 8" round pans baked for 25-30 minutes.
- Remove from pan after 10 minutes of cooling and let cake cool completely on a cooling rack.
I bet that if I would have just listened to that, it would have turned out delicious. So just because the cake flopped on me, don't give up hope. I dare you to continue baking it and enjoy the deliciousness. But as for the rest of the story, this is what I did....

I simply sprayed the pans with cooking spray and divided the cakes into four 9" pans. Why four, you ask? Just wait.

I was on a mission to create a color cake. So I divided the batter into fourths and colored it up. The blue and green, I mixed after pouring into the pan. Then I realized that it would probably be better to do it ahead of time as to not mix in the cooking spray. Either way, it was really just a big mistake on my part to try to add food coloring to a recipe such as this. You see, food coloring requires mixing. I over mixed the meringue and it fought back. And it won.

I did do this right, if nothing else. So pay attention, readers. When baking more than one cake in this fashion, make sure to stagger them in position in the oven. This helps regulate heat and also ensures that each cake will bake evenly. It requires a little love, because you need to rotate them half way (or in this case, quarters) of the way through, but it helps with the cake, so it's worth it.

The cake will begin to pull away from the pan when it's done baking. The toothpick trick is also helpful.
Step 5: Make it pretty.
Again, this part didn't really work for me. I let my cakes rest in the pan too long (along with the fact that I didn't line the pan with parchment paper) and as I tried to flip them out, they pretty much fell apart. Looking back, it would have been great to take a picture of that, but I wasn't in the mood for photography. My mother came to the rescue, stacked the cake together, and crumb coated the icing for me. Thank God, because at that point, I was so over cakes that I didn't want to look at it. But anyway, it kind of sort of made it. At least for pictures.
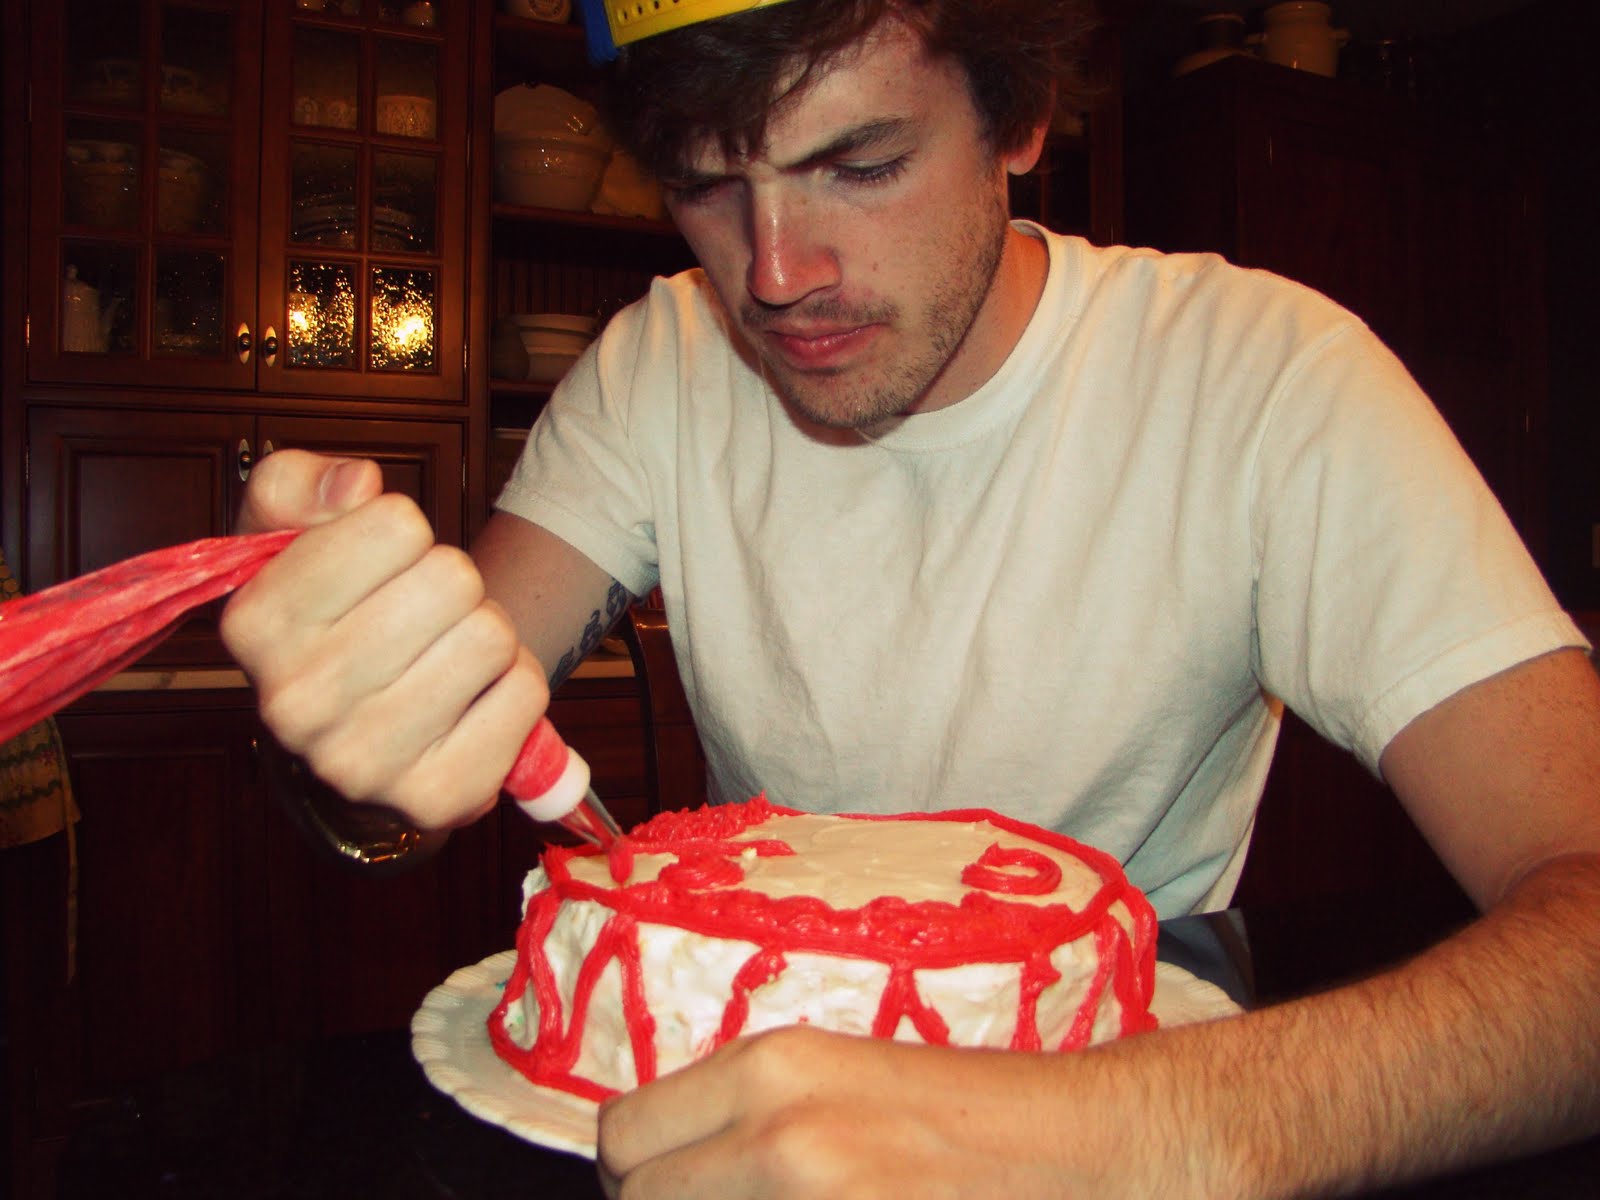
Colin slaving away on the decorating. Thank you, sir.

Well, I wouldn't call it pretty, but, oh well.
Well, that's the story of the Play-Doh cake. So what lessons did we learn? Follow the directions. Find a recipe without meringue involved when using food coloring. And gain some gosh darn patience when baking a cake. Okay, maybe that was just me that learned that lesson.
Overall, though the cake became really heavy and dense from the over mixing, it did taste good. The almond extract really adds to the flavor of the cake. I'd recommend the recipe, but stick to the recipe.
Happy eating! Share the love!
-Olivia.
No comments:
Post a Comment